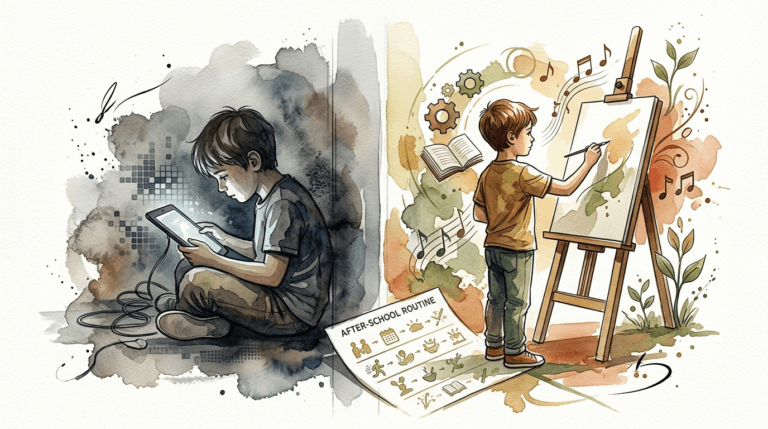
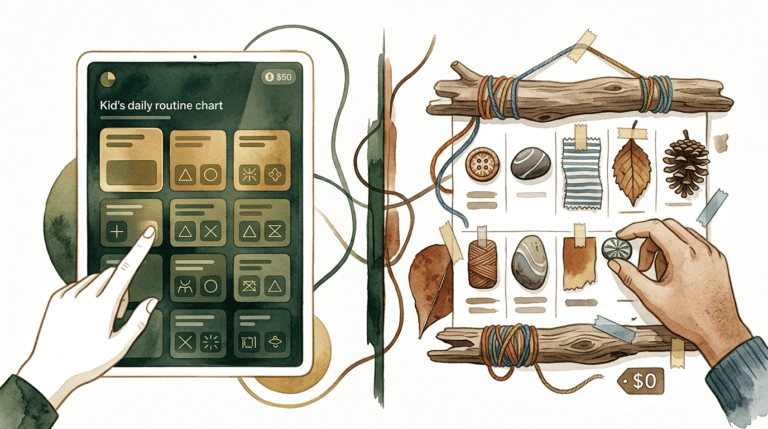
weekend reset plan for family tech use
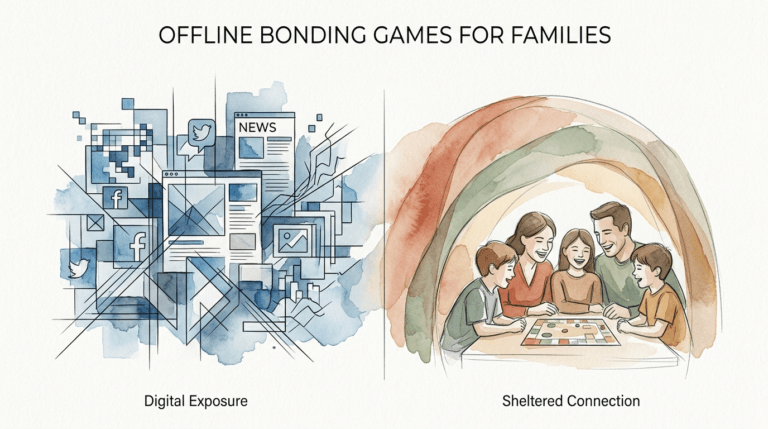
Swap the scroll for the soil. Tech isn’t the enemy, but it’s a ‘dead’ interaction. Reclaim your weekend with a reset plan that trades digital scrolling for living, breathing family engagement. Most of us have felt that specific Sunday evening slump where we realize we’ve spent the last 48 hours staring at a glass rectangle….